BenQ
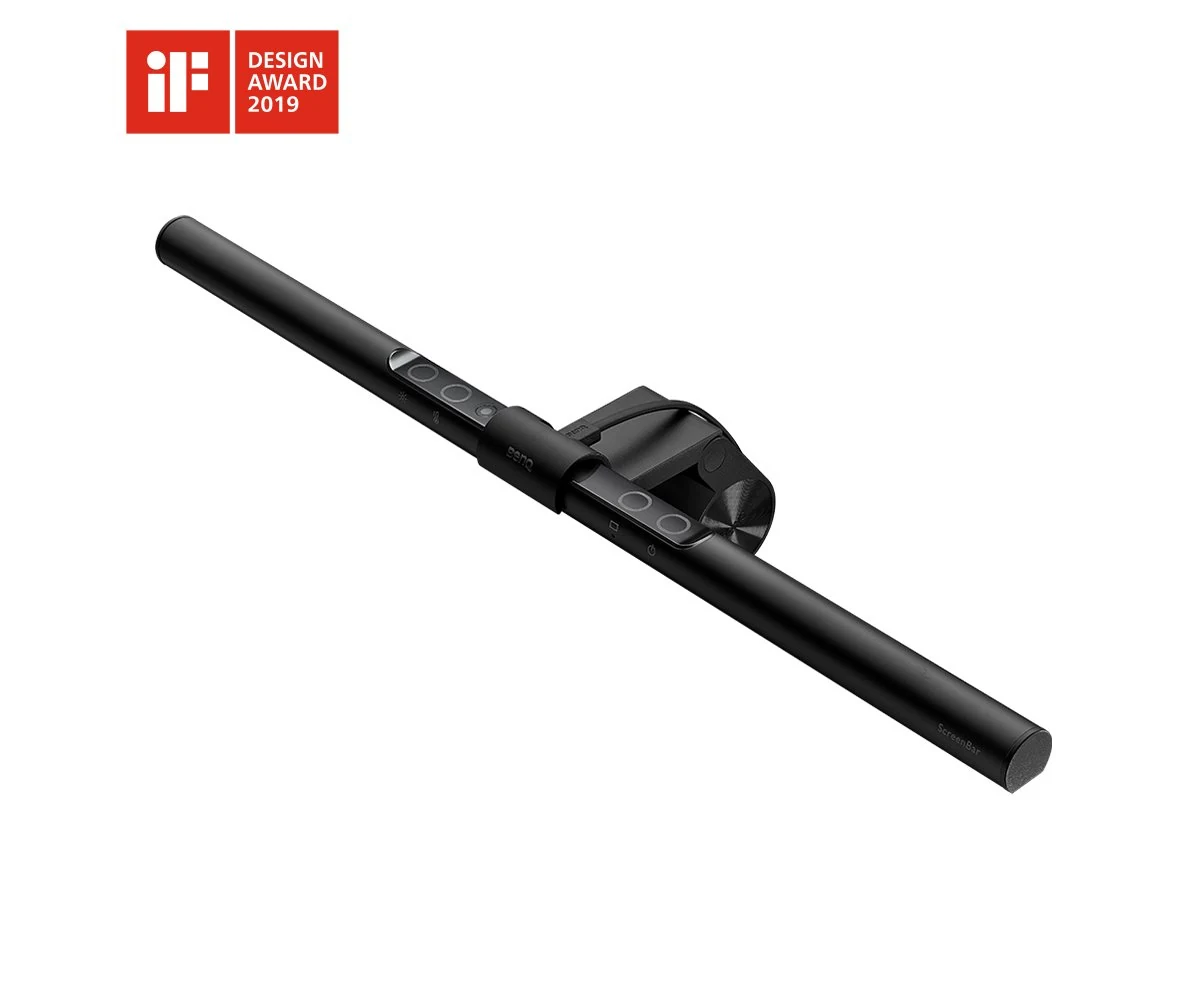
BenQ ScreenBar Monitor Light
Clips onto monitor — no desk space used, no wall mount needed. Auto-dimming sensor. Zero installation.
Buy on Amazon →Affiliate link — same price for you, supports Switcheroom.
Renter-Safe Verified
This product can be used, installed, or placed without drilling, nailing, or permanently modifying your rental. When you move out, it comes with you — and your deposit stays intact.
A crowded apartment desk rarely has room for another lamp base, yet working in a dark room with only a bright monitor creates an uncomfortable contrast. The original BenQ ScreenBar sits on the monitor and directs task light toward the desk rather than toward the display. The editorial verdict: it is a clean, premium solution for a compatible flat or gently curved monitor, but fit, webcam placement, and USB power deserve checking before paying more than budget light bars cost.
Who It Is For—and Who Should Skip It
It suits renters, students, designers, and remote workers who need keyboard and document light without drilling a wall or surrendering desk space. BenQ provides auto dimming, manual brightness and color-temperature adjustment, and its asymmetric optical design. Skip it if the monitor is outside the supported thickness range, has a strongly curved or unusually shaped back, vents along the top edge, or already carries a centered webcam that cannot be repositioned. Buyers wanting room-wide ambient light need a floor or table lamp; buyers who only need basic desk illumination may find a lower-cost monitor bar adequate.
What Product Details and Buyer Feedback Reveal
BenQ describes the ScreenBar as an LED monitor light with automatic dimming and ASYM-Light technology. The manual for model B076VNFZJG specifies USB power at 5V DC and 1A using the supplied cable. Available compatibility guidance places the weighted clip on monitors roughly 0.4 to 1.2 inches, or 1 to 3 centimeters, thick; unusual curves and rear housings still require a physical check rather than relying only on thickness.
Retail and independent-review feedback commonly values the freed desk surface, controlled beam, build quality, and useful auto mode. The repeated trade-off is price. Other practical complaints come from setup interactions: a webcam competing for the center position, touch controls being less convenient than a desktop dial, unstable seating on a tapered monitor back, or visible screen reflection when the bar is rotated incorrectly. Auto dimming is a starting point, not a guarantee that every user's preferred brightness will match.
Renter and Apartment Fit
| Constraint | Fit | Check first |
|---|---|---|
| Wall damage | Excellent | No screws or adhesive; the weighted clip rests on the monitor. |
| Tiny desk | Excellent | No lamp base, but allow space above the display. |
| Monitor fit | Conditional | Measure thickness and inspect curve, vents, bezel, and rear shape. |
| Webcam use | Conditional | Plan whether both devices can share the top edge without blocking sensors. |
Setup Reality and Common Failure Modes
No tools or permanent mounting are required. Seat the weighted clip squarely on a compatible monitor, place the bar in its holder, connect the supplied USB cable to a 5V/1A source, and rotate the light until the desk is lit without a bright reflection on the screen. Keep vents clear and confirm the clip does not press on the active display area. Test the monitor at its normal tilt before routing the cable.
Common failure modes are powering from an unsuitable or intermittent USB port, pinching the cable behind the display, placing the ambient sensor under another light, rotating the beam into the screen, or assuming every curved monitor is compatible. The lamp also does not replace balanced room lighting: a lit keyboard with a completely dark room can still feel harsh. The honest alternative cue is budget and control style—choose a cheaper bar if basic illumination is enough, or a ScreenBar model with a separate controller if frequent touch adjustments are frustrating.
Last checked: 2026-07-27. Sources: BenQ ScreenBar page, model instruction manual, exact Amazon listing, and independent review.Best For
- Rental home office with a narrow desk
- Dorm study station without task lighting
- Apartment bedroom workspace for night users
- Designer desk needing document light without a lamp base
Setup & Install
No tools, adhesive, or wall mounting are required. Seat the weighted clip on a compatible monitor, connect the supplied cable to a 5V/1A USB power source, and rotate the beam away from the screen. Before purchase, measure monitor thickness and check the top bezel, rear curve, vents, and webcam position; unusual monitor shapes can prevent a stable fit.
FAQ
Will the original BenQ ScreenBar fit my monitor?
Published guidance for this model covers many monitors about 0.4 to 1.2 inches thick, but rear shape, curvature, vents, and bezel design also matter. Measure and inspect the monitor rather than relying on screen size alone.
Does the ScreenBar require wall mounting?
No. A weighted clip rests on the monitor, making it portable and suitable for rentals without holes or adhesive.
Can a webcam and ScreenBar share the top of the monitor?
Sometimes, but both often want the center position. Check the webcam base and field of view, and do not stack devices in a way that makes the light unstable or blocks a sensor.
How is the BenQ ScreenBar powered?
The model manual specifies the supplied USB cable and a 5V DC, 1A USB power source. An underpowered or switched-off monitor port can cause unreliable operation.
Why would someone skip this for a cheaper monitor light?
Price is the main trade-off. Buyers who do not need BenQ's optical design and auto-dimming may prefer a simpler bar, while frequent adjusters may prefer a model with a separate controller.