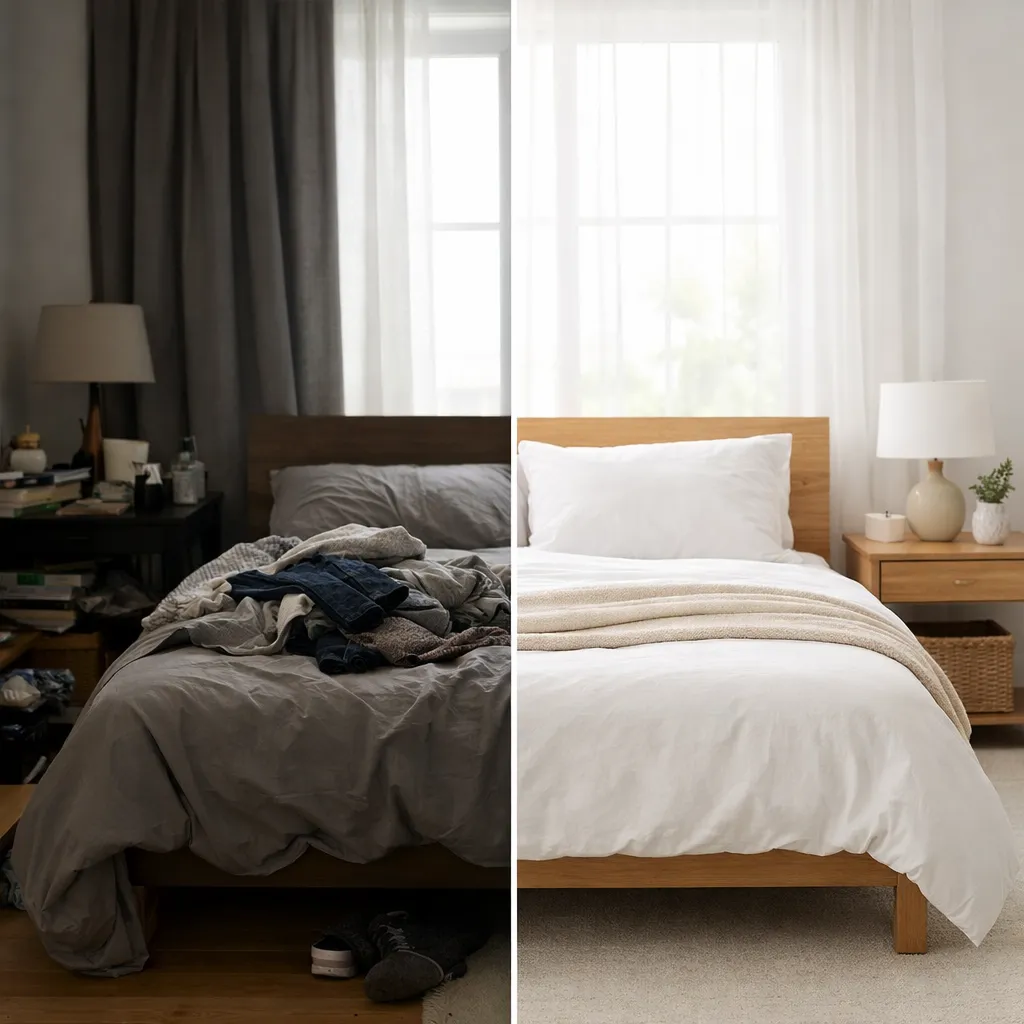
A successful minimalist bedroom transformation project is not about buying a matching set or stripping the room of personality. It starts with measuring, editing what you own, and solving the biggest daily frustration first. The most effective changes usually combine a clear layout, closed storage, layered lighting, and restrained materials rather than a costly full renovation.
Begin with a temporary plan. Photograph the room, list what must remain, set a spending ceiling, and test the layout before drilling. Renters can prioritize reversible hardware and freestanding pieces; homeowners can add properly anchored systems after checking walls for wiring, plumbing, and suitable structure.
Define the Problem Before Shopping
Write down what is not working in the current bedroom: crowded surfaces, poor access, weak lighting, wasted vertical space, or furniture that blocks circulation. Then translate each complaint into a requirement. “Too cluttered” might mean one drawer for charging cables and closed storage for occasional items, while “hard to get dressed” may mean better lighting and frequently worn pieces positioned between waist and eye level.
Measure wall lengths, ceiling height, doors, windows, outlets, vents, baseboards, and the swing of every door. Record the narrowest access route for furniture. Use painter’s tape to mark proposed footprints and live with them for a day. This low-cost test exposes blocked drawers, awkward corners, and walking paths that look acceptable on paper but feel cramped in practice.
Choose a Simple Visual Direction
Limit the palette to a dominant neutral, one supporting tone, and a small accent. Minimal does not require white: warm gray, muted clay, soft green, pale wood, or deep blue can feel calm when repeated consistently. Keep large surfaces quieter and introduce character through replaceable textiles, art, and small objects. Matching every finish exactly can make a room feel like a showroom; controlled variation creates depth.
Select materials by maintenance as well as appearance. Washable bedding, wipeable shelf finishes, and durable baskets suit daily use better than delicate surfaces. Gather physical samples and view them in morning and evening light. Screens distort color, while bulbs with different color temperatures can make supposedly coordinated neutrals clash.
Edit and Zone What You Own
Empty one manageable area at a time rather than creating an exhausting room-wide pile. Group items by use, keep what supports current routines, relocate objects that belong elsewhere, and set aside donations responsibly. Do not buy organizers until the remaining volume is known. Storage products cannot compensate for keeping more than the space can comfortably hold.
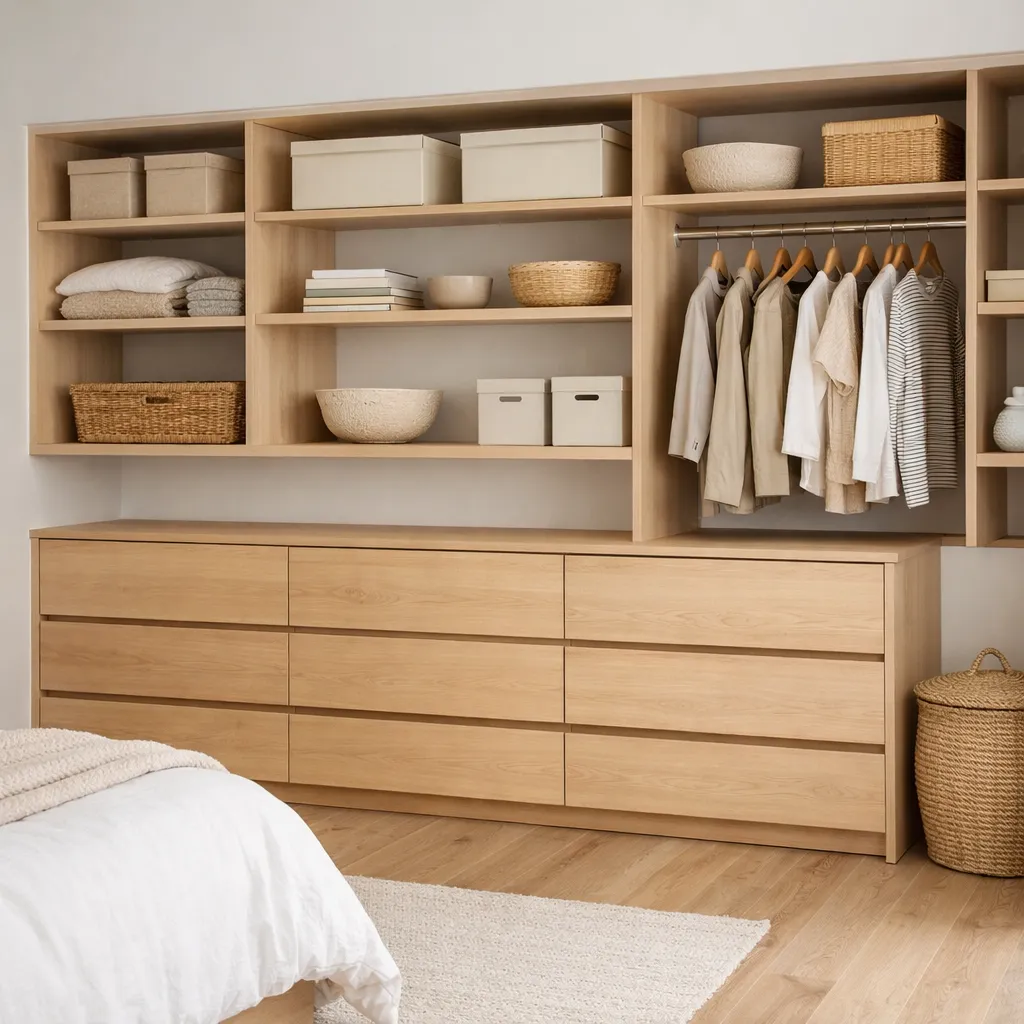
Create zones: daily items in the easiest reach, weekly items nearby, and seasonal or archival belongings higher or farther away. Give small objects defined containers, but avoid dividing every drawer into tiny compartments. Leave some open capacity so the system can absorb laundry day, new purchases, or changing needs without immediately looking overfilled.
Build Storage From the Bottom Up
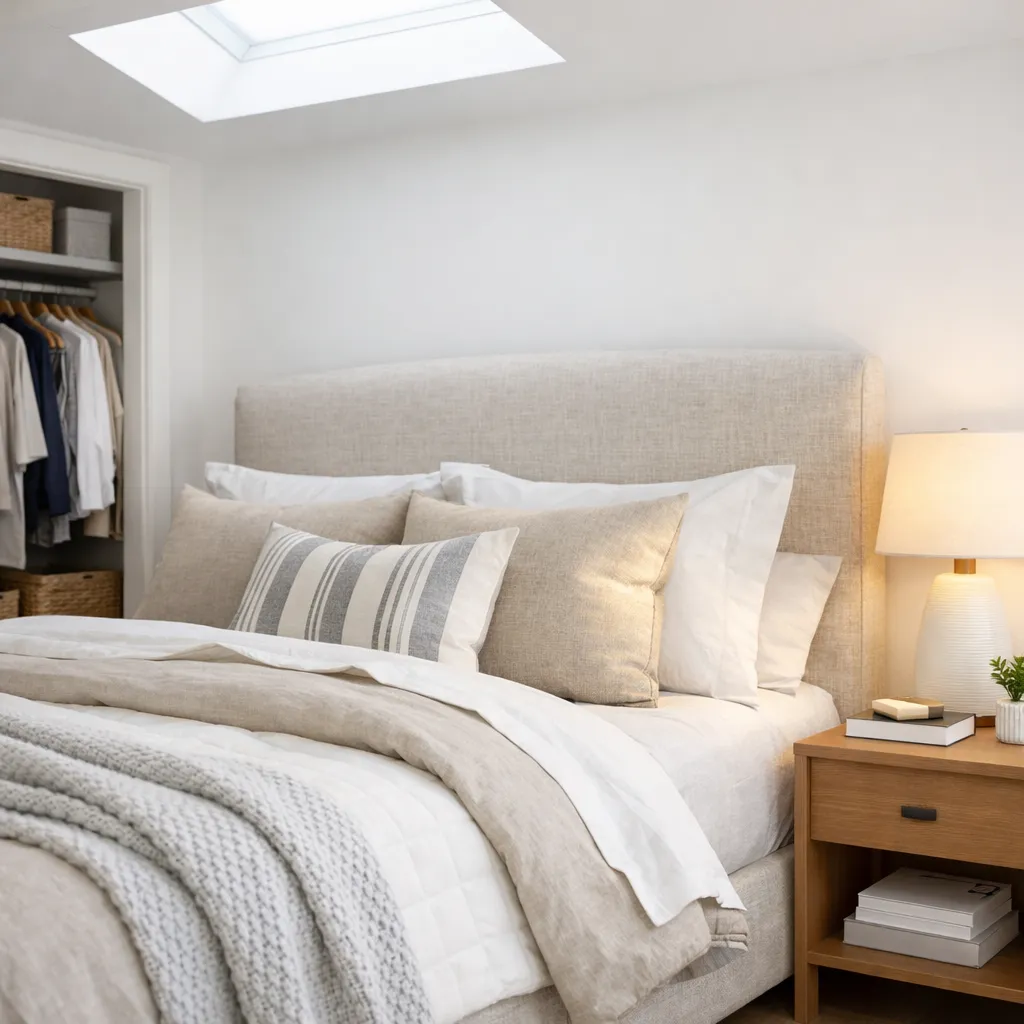
Start with the largest functional piece and add only what fills a measured gap. A low dresser can provide clothing storage and a landing surface; a bed with drawers can replace bins that gather dust. In a closet, combine long-hang space, double-hang sections, adjustable shelves, and shoe storage according to the garments you actually own. Adjustable components cost more than a fixed rod but adapt better over time.
Freestanding pieces are flexible for renters, but tall furniture can tip. Use manufacturer-approved anti-tip hardware and anchors suited to the wall construction, with landlord permission where required. Never assume a drywall anchor is adequate for a heavily loaded rail. For adaptable options, compare adjustable closet systems or under-bed storage drawers only after measuring exact clearances.
Improve Lighting in Layers
A single ceiling fixture rarely supports every bedroom task. Combine ambient light for general movement, focused light for reading or dressing, and gentle low-level light for evenings. Place bedside controls within easy reach so cords do not cross walking paths. A plug-in sconce can free a nightstand, but its cable should be secured without being pinched or hidden beneath rugs.
Choose bulbs with consistent color appearance across fixtures. Diffused shades reduce glare, especially near mirrors. If a closet is dark, a rechargeable motion light can be a reversible improvement; choose a product intended for indoor use and follow charging instructions. Hardwired fixtures, new outlets, or altered circuits belong to a qualified electrician rather than a cosmetic DIY project.
Make the Bed and Textiles Do More
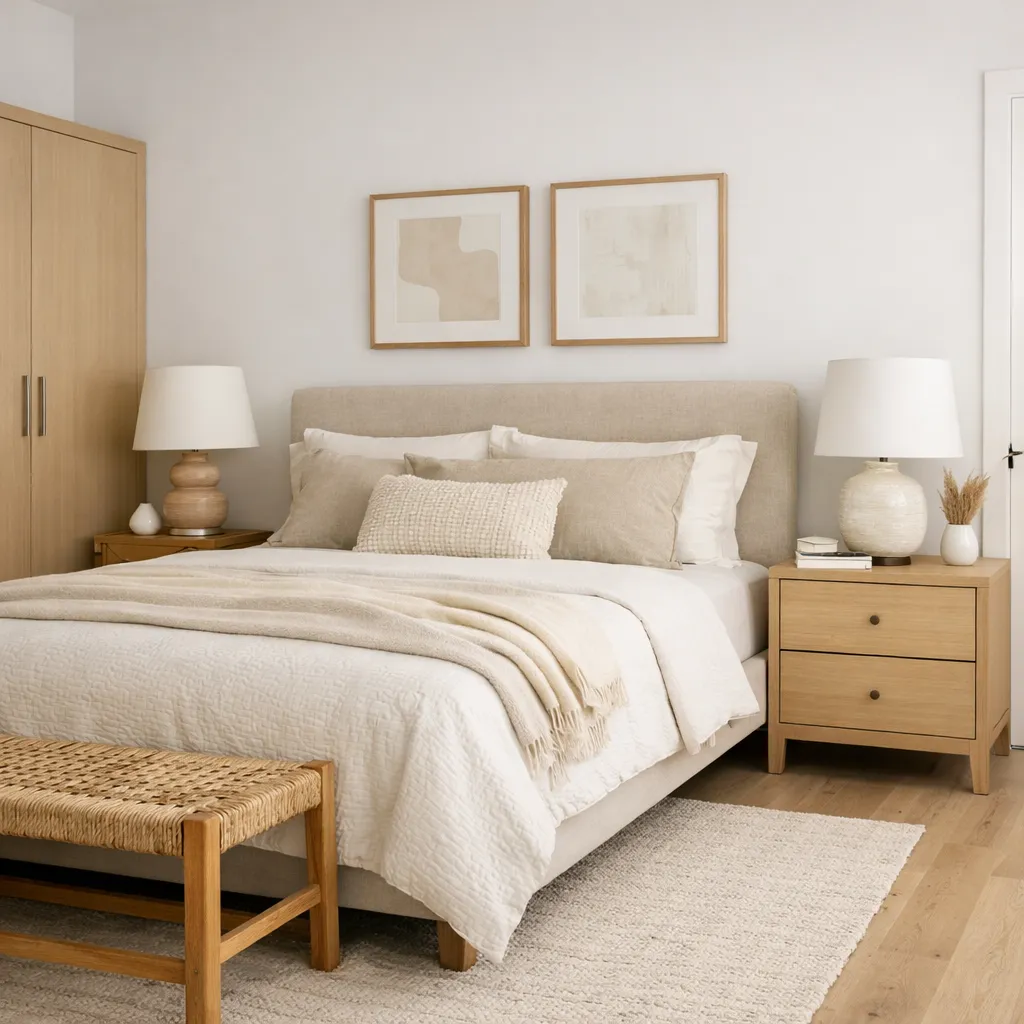
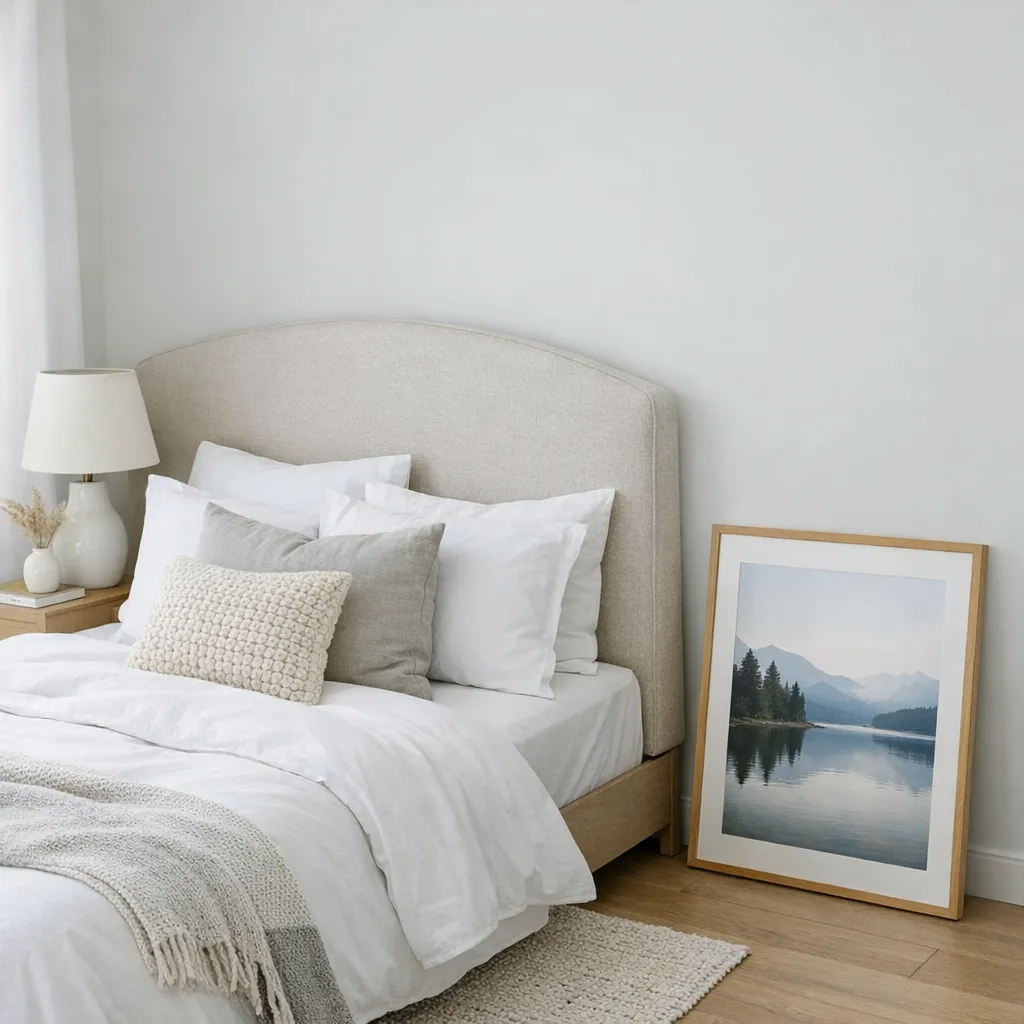
The bed is usually the largest visual field, so simplify it before replacing furniture. Use breathable sheets, one practical cover, and only the pillows that are used or intentionally displayed. A limited textile palette can make mixed furniture feel cohesive. Texture—linen-like weaves, quilted cotton, wool, or a flat-weave rug—adds interest without introducing many colors.
Choose a rug size that relates to the bed and leaves safe, predictable edges. Avoid a small loose rug in a main walking route. Use a rug pad compatible with the flooring, keep fabric away from heaters, and preserve access to vents. Wash or air textiles according to care labels before evaluating whether the room still feels visually busy.
Add Character Without Recreating Clutter
Minimal spaces still need identity. Select one larger artwork, a meaningful object group, or a distinctive lamp rather than distributing many small decorations across every surface. Repeat one shape or material two or three times to create connection. Negative space is functional: it gives drawers room to open, makes cleaning easier, and lets chosen objects register clearly.
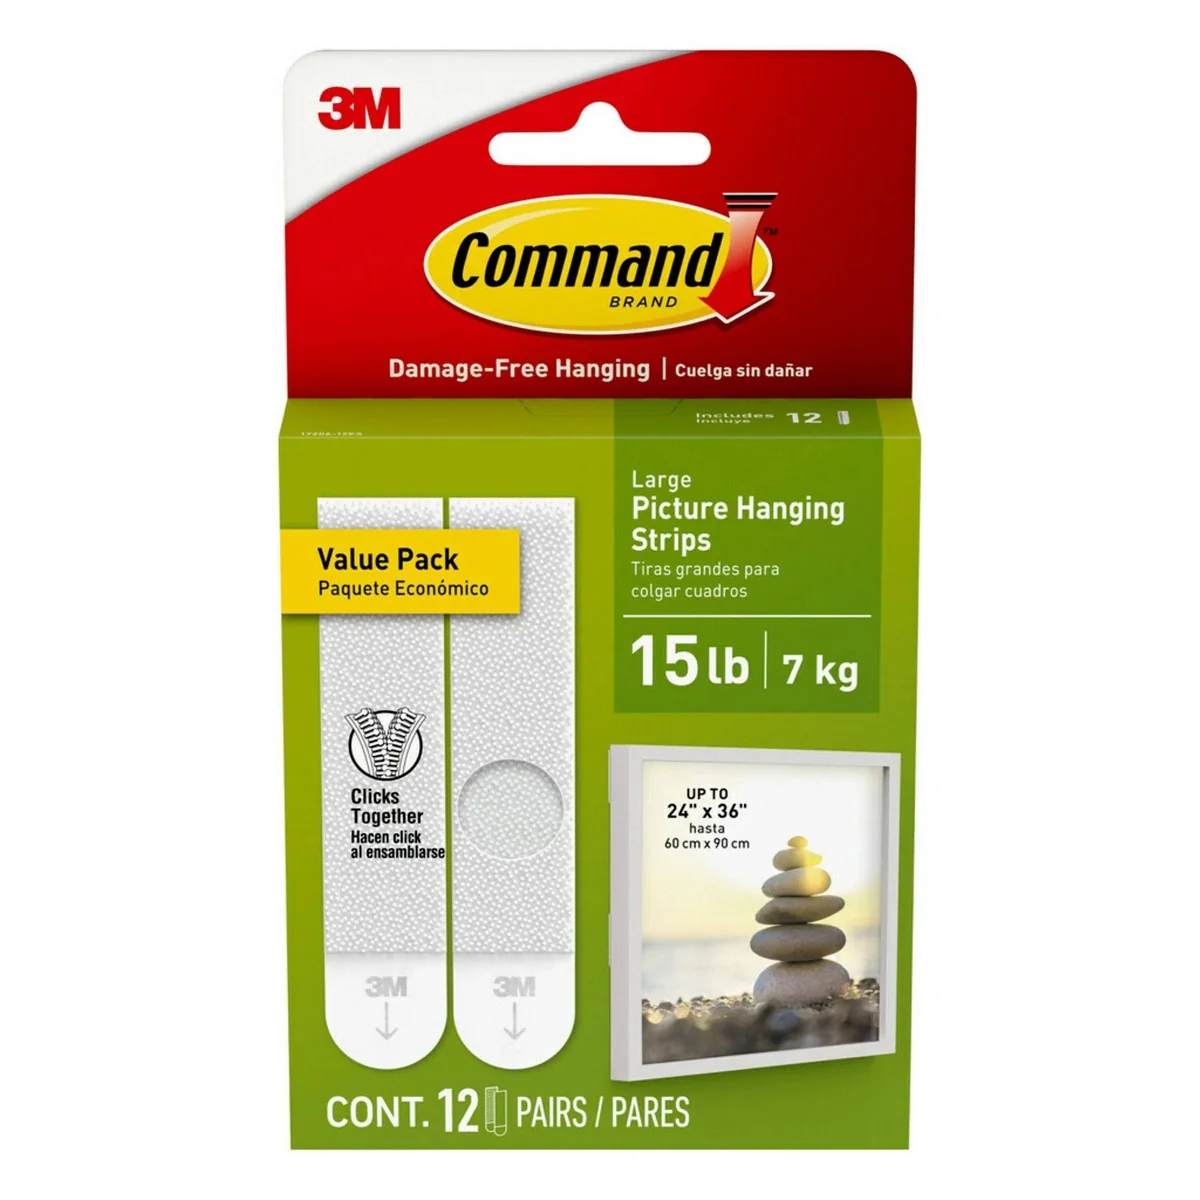
Keep display limits practical. A tray can contain bedside essentials; one shelf can rotate books or seasonal objects. Avoid stacking heavy decor above a bed, and mount frames with hardware appropriate to their weight and the wall. If you cannot verify a secure fixing point, use a lighter piece or display it elsewhere.
Use a Phased Budget
Divide spending into function, comfort, and finish. Function includes repairs, storage, and lighting; comfort includes bedding or a supportive mattress; finish includes paint and decor. Solve function first so decorative purchases do not conceal a layout problem. Reusing a dresser with new knobs or moving an existing lamp can free money for the one component that truly improves daily use.
Buy in phases: edit and rearrange, add storage, improve lighting, then finish the palette. Keep receipts and packaging until dimensions and performance are confirmed. Custom built-ins can maximize irregular spaces but cost more and are difficult to reverse; modular systems are less seamless yet easier to move, repair, or expand.
Avoid Common Makeover Mistakes
Do not purchase bins before measuring, push all furniture against walls by default, or choose a bed that consumes the circulation route. Avoid open storage for every category; it demands constant styling and exposes items to dust. Too many “space-saving” gadgets can create more components than they organize. A few generous drawers and shelves often outperform numerous specialty holders.
Do not cover vents, overload outlets, daisy-chain extension cords, or drill without checking for hidden services. Follow furniture load limits. Paint with ventilation and observe product curing instructions. If you find dampness, mold-like growth, damaged wiring, or a wall that feels soft, pause cosmetic work and arrange appropriate professional assessment.
Quick-Reference Makeover Checklist
| Stage | Action | Success check |
|---|---|---|
| Measure | Record room, openings, outlets, and obstacles | Drawers and doors can fully open |
| Edit | Sort by current use | Storage has spare capacity |
| Plan | Tape out furniture footprints | Walking routes remain clear |
| Store | Place frequent items in easy reach | Daily reset takes minutes |
| Light | Add ambient and task layers | No glare or trailing cables |
| Finish | Repeat a limited palette | Room feels personal, not crowded |
Complete one row before moving to the next. The order prevents attractive purchases from dictating the plan. Take a photo after each phase and compare it with the original problem list, not with a staged showroom. The goal is easier daily use, safer circulation, and a room you can maintain.
When Professional Help Makes Sense
Hire a qualified electrician for new circuits, relocated outlets, or hardwired lighting. A carpenter or closet installer is useful when walls are out of square, loads are substantial, or a system needs precise attachment. Ask how the design will be anchored, whether doors and vents remain accessible, and how components can be repaired later.
Investigate water stains, persistent odors, visible deterioration, or suspected mold before enclosing the area with cabinetry. Renters should obtain written permission for painting, drilling, and permanent fixtures. Professional help is not necessary for every makeover, but it is sensible when cosmetic work intersects with electricity, structure, moisture, or inaccessible building systems.
Frequently Asked Questions
How much should I budget?
Start with a fixed ceiling and price the functional priority first. A rearrangement and edit may cost almost nothing, while modular storage, lighting, paint, or custom work increases the range considerably. Include delivery, anchors, tools, and disposal rather than counting only headline product prices.
Can renters make meaningful changes?
Yes. Freestanding storage, removable lighting, textiles, layout changes, and carefully chosen temporary finishes can transform a room. Check the lease and get permission before drilling or painting.
How long does the transformation take?
An edit and layout test can happen over a weekend, but purchasing and installation may take several weeks. Phasing the work reduces rushed decisions and allows returns when an item does not fit.
What should I buy first?
Buy only after measuring and editing. The first purchase should solve the biggest verified problem—often storage, lighting, or bedding—not simply be the most visible decorative item.
How do I keep the result from becoming cluttered?
Leave capacity in every storage zone, use a one-in/one-out rule for crowded categories, and schedule a short weekly reset. Make the easiest storage location match the objects used most often.
Final Safety Check Before You Finish
Preserve a clear route from the bed to the room door and do not block a window or other required emergency opening. Test smoke and carbon-monoxide alarms according to local requirements and manufacturer instructions, and never remove or cover a detector for visual reasons. Keep lamps, chargers, and cords in good condition; replace damaged products rather than concealing them behind furniture. Do not run extension cords under rugs or mattresses, overload receptacles, or place combustible textiles against heaters or hot bulbs.
Anchor tall or top-heavy furniture with hardware approved by its manufacturer and suitable for the wall, especially where children could climb or pull drawers open. Keep blind cords secured and inaccessible to children, follow crib and child-sleep safety guidance where relevant, and store medicines, sharp tools, and small hazards appropriately. Maintain access to electrical panels, shutoffs, vents, and service points. If an installation requires drilling near possible wiring or plumbing, structural modification, or hardwired electrical work, stop and use a qualified professional.
A Maintainable Final Result
A durable minimalist bedroom transformation project aligns the room with real behavior. Keep pathways clear, make daily objects easy to return, and allow enough empty space for the arrangement to breathe. A restrained palette and repeatable storage system create calm more reliably than chasing a particular trend.
Review the room after two weeks. Move anything that consistently lands in the wrong place, remove organizers that add friction, and adjust lighting for actual routines. The best makeover is not the one with the fewest possessions; it is the one that makes create a calmer bedroom with fewer, better-organized objects, safely and without demanding constant upkeep.





Share your results
Reader transformations
Have you tried this makeover? Share your experience below.