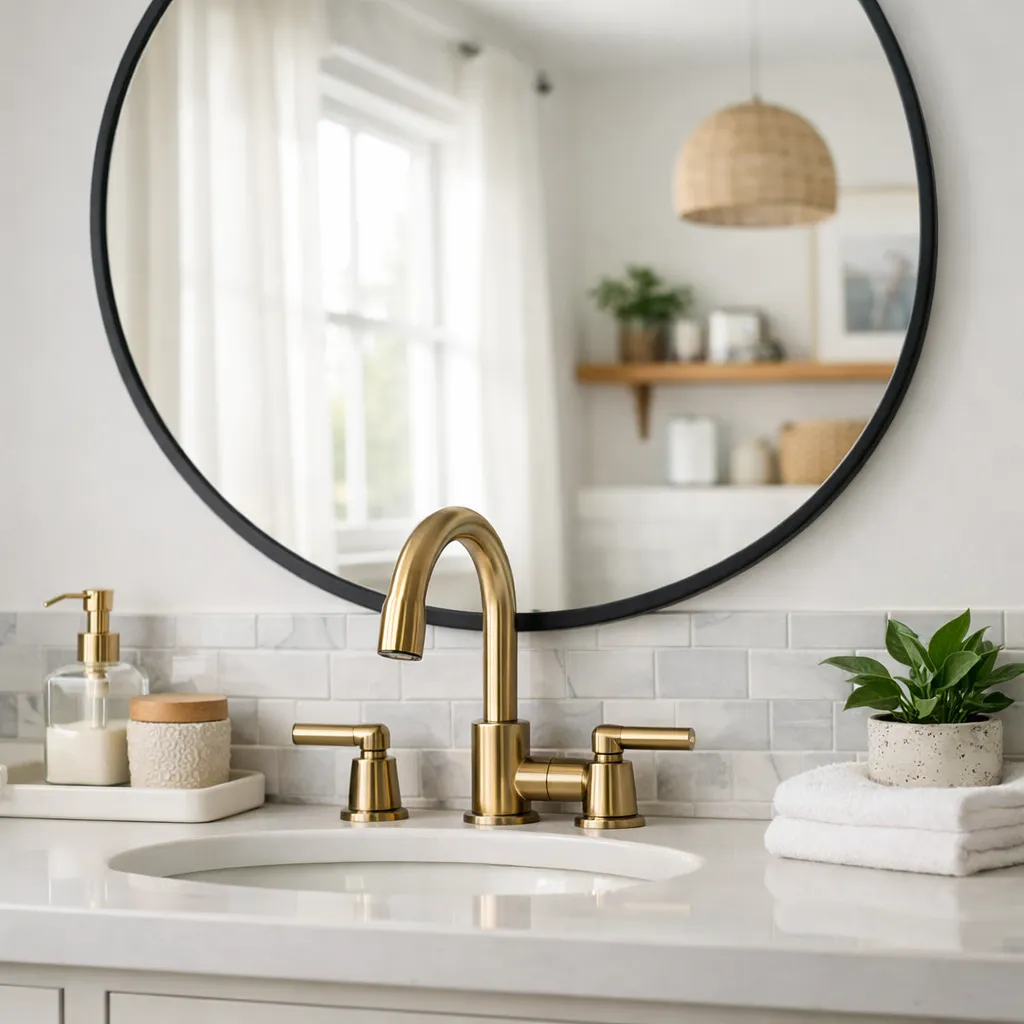
A bathroom makeover does not have to begin with demolition. If the plumbing works, surfaces are sound, and the layout is functional, coordinated changes to color, lighting, storage, textiles, hardware, and accessories can make the room feel cleaner and more intentional. The key is to treat it as a small design project rather than buying unrelated decorative items one at a time.
Start with maintenance and safety. A loose toilet, active leak, soft floor, recurring mold, failed electrical fixture, or poor ventilation is not a cosmetic problem. Repair those issues before covering stains or adding finishes. Renters should document existing conditions and obtain written permission before painting, drilling tile, changing wired fixtures, or applying products that may damage surfaces.
Assess what can stay and what needs attention
Empty the visible surfaces and clean the room thoroughly. Then inspect grout, caulk, cabinet hinges, faucet joints, the toilet base, flooring edges, ceiling, exhaust fan, and the wall below plumbing connections. Look for peeling paint, swelling, mineral deposits, persistent odor, or discoloration that returns after cleaning. Cosmetic work should never conceal an active source of moisture.
Test the room in normal use. Does the fan exhaust outdoors and clear humidity reasonably? Do outlets have appropriate ground-fault protection for the location? Does the door collide with storage? Are towels easy to reach without crossing a wet floor? A makeover succeeds when it improves these everyday details. Contact qualified trades for electrical, plumbing, structural, or persistent moisture concerns rather than improvising around them.
Set a simple visual plan
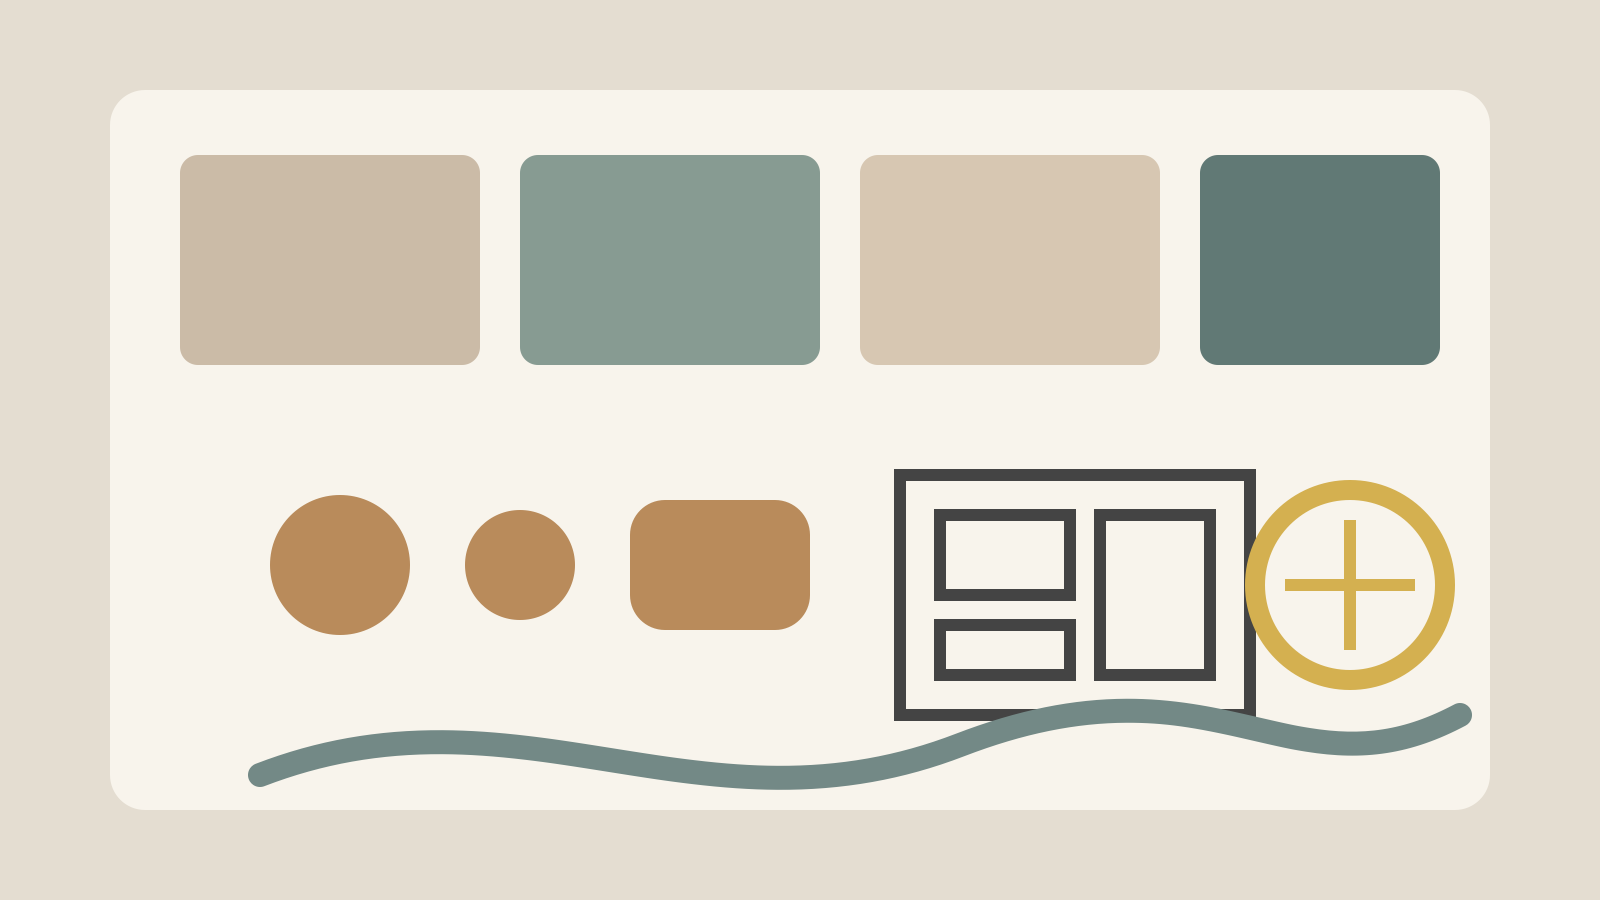
Choose one fixed surface as the starting point, such as floor tile, wall tile, a stone counter, or the existing vanity. Identify its undertone and select a small palette of two or three compatible colors. Warm beige tile may work with creamy white, muted green, and aged brass; cool gray tile may suit soft white, charcoal, and brushed nickel. You do not need to match every metal, but repetition makes mixed finishes look deliberate.
Create a short shopping list organized by impact: wall finish, lighting, mirror, cabinet treatment, storage, textiles, and details. Measure before buying and save photos of the room in daylight and artificial light. A mood board prevents attractive individual items from fighting one another. It also helps you stop when the room is complete instead of filling every wall and counter.
Refresh walls without disturbing tile
Paint is often the highest-impact low-disruption change. Use a product appropriate for bathrooms and follow preparation instructions: remove loose material, clean residue, repair defects, prime where needed, and allow adequate curing time. Painting over mildew, damp drywall, or failing paint only postpones the underlying problem. Ensure ventilation and keep the room out of service for the recommended period.
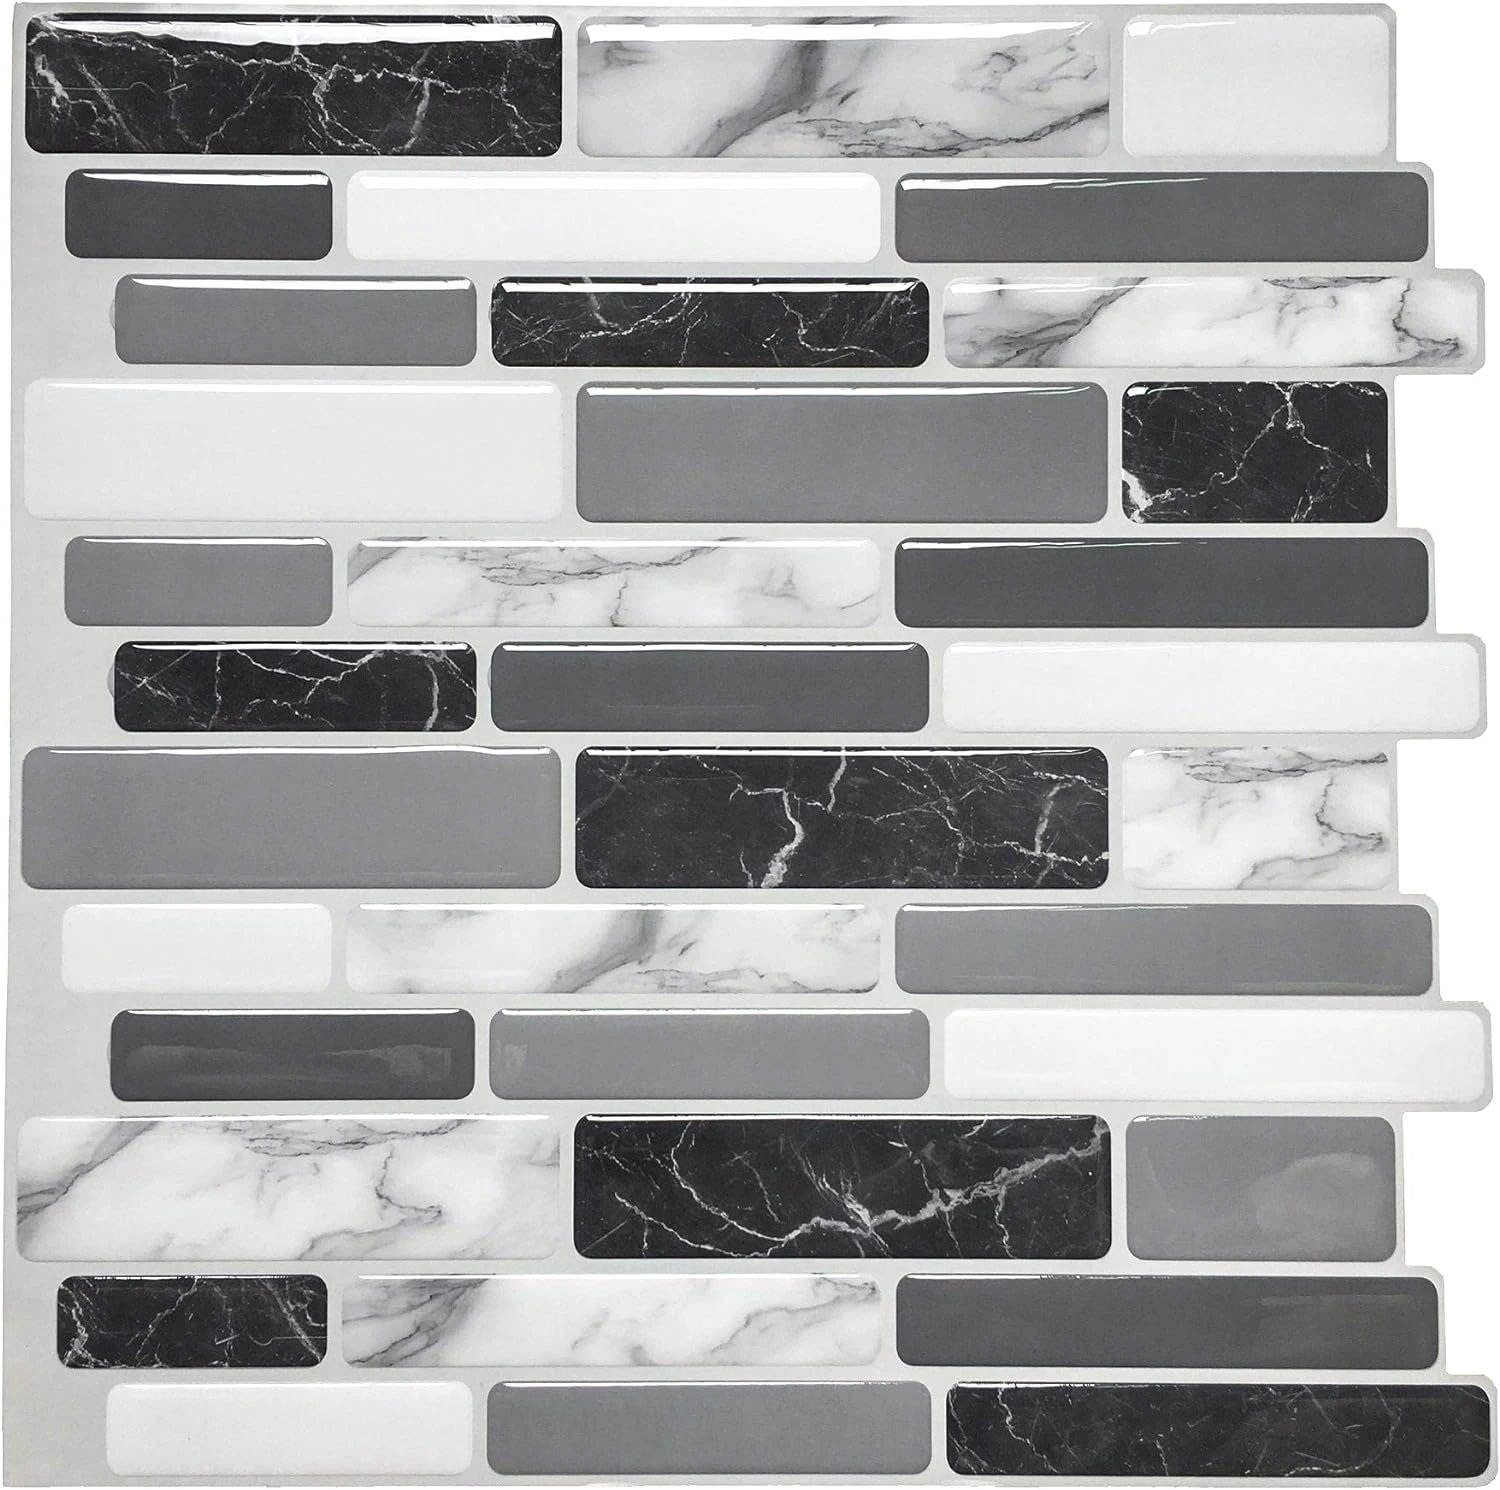
Where painting is not allowed, consider framed art rated for a humid environment, a removable color block on a smooth dry wall, or a shower curtain with a strong pattern. Peel-and-<a href="/products/nuwallpaper-gray-woods-nu1412/" class="product-inline-link">stick wallpaper</a> can work outside direct splash zones on suitable surfaces, but steam and weak paint reduce adhesion. Test a hidden patch and remember that “removable” does not guarantee damage-free removal.
Improve the vanity instead of replacing it
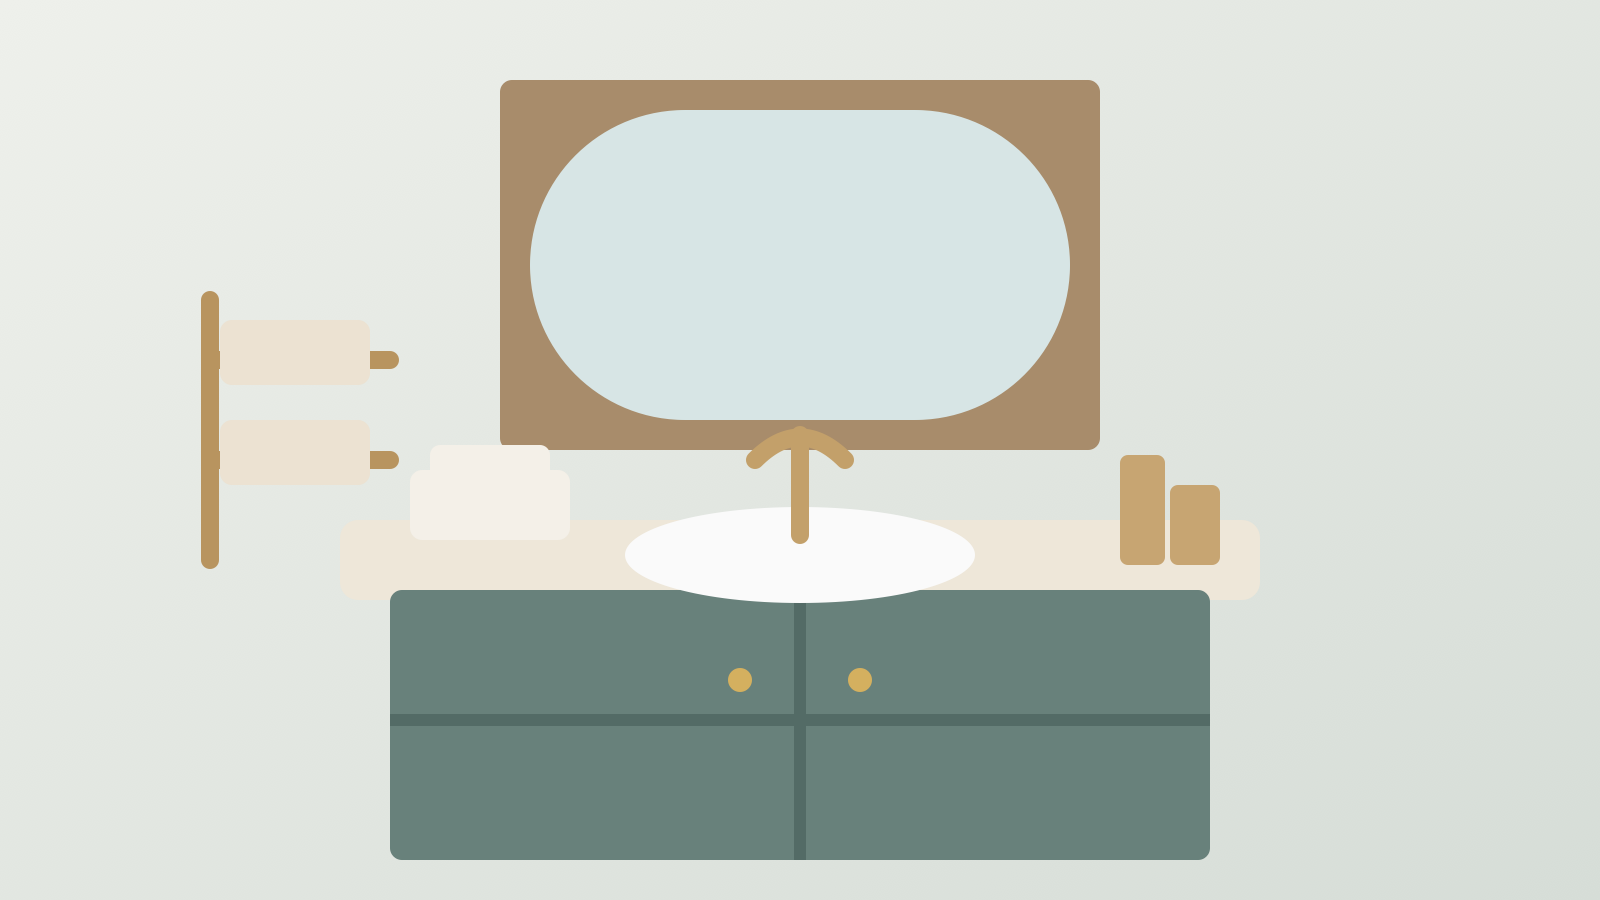
A sound vanity can look very different with adjusted doors, fresh hardware, and a carefully applied finish. Tighten hinges, clean the cabinet, fill old hardware holes correctly, and verify that new pulls match the existing hole spacing. If repainting, identify the cabinet material and use compatible primer and coating. Laminate, thermofoil, and previously painted wood require different preparation.
Do not paint over swollen panels or conceal leaks inside the cabinet. Replace a damaged supply hose or trap only if you are qualified and can isolate water safely; otherwise call a plumber. For a no-paint update, use matching trays, reduce countertop clutter, and add a removable liner inside drawers. New cabinet pulls can be useful, but confirm center-to-center dimensions and projection before ordering.
Change the mirror and lighting thoughtfully
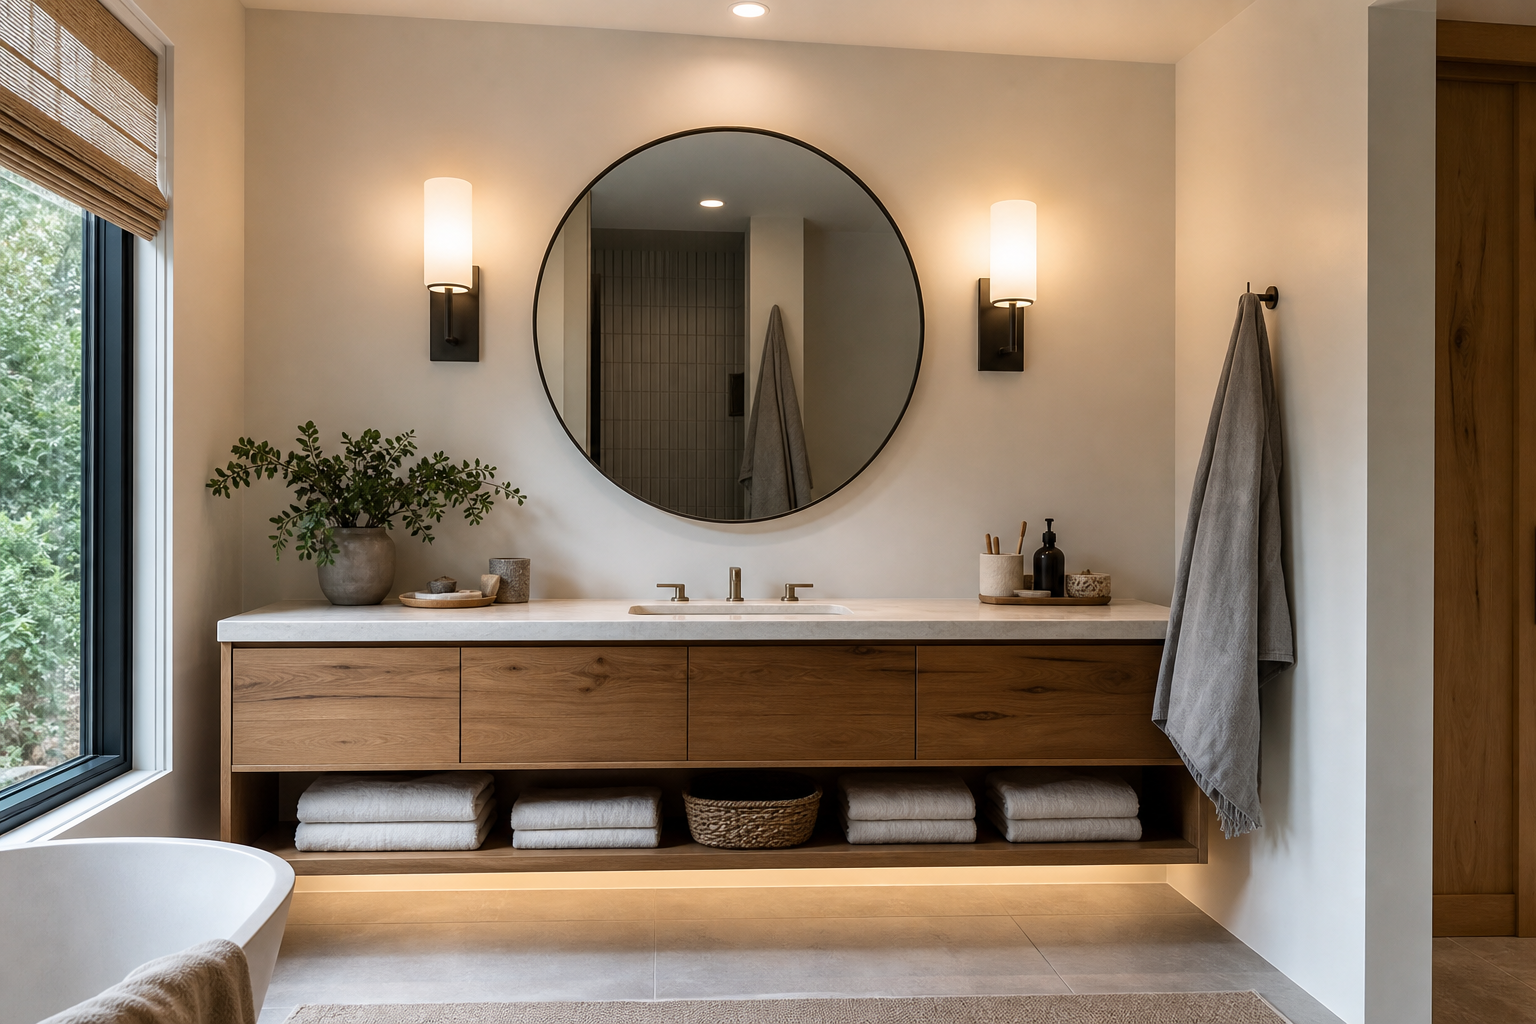
A mirror affects both brightness and proportion. A larger simple mirror can make a narrow vanity feel broader, while a framed mirror adds definition. Check that the new piece clears the faucet, backsplash, lighting, outlets, and medicine-cabinet door. Heavy mirrors need wall fixings rated for the weight and substrate; adhesive installation should follow a system specifically approved for the mirror and bathroom conditions.
Lighting work has stricter boundaries. Replacing a plug-in lamp is different from altering a wired vanity fixture. Bathrooms have location-specific electrical requirements, and fixtures near wet areas need suitable ratings. Hire a licensed electrician for hardwired changes, added outlets, or any sign of heat damage. Changing bulb color temperature and cleaning a sound fixture’s diffuser may improve the room without electrical alteration; use only compatible lamps within the fixture rating.
Update hardware without creating plumbing trouble
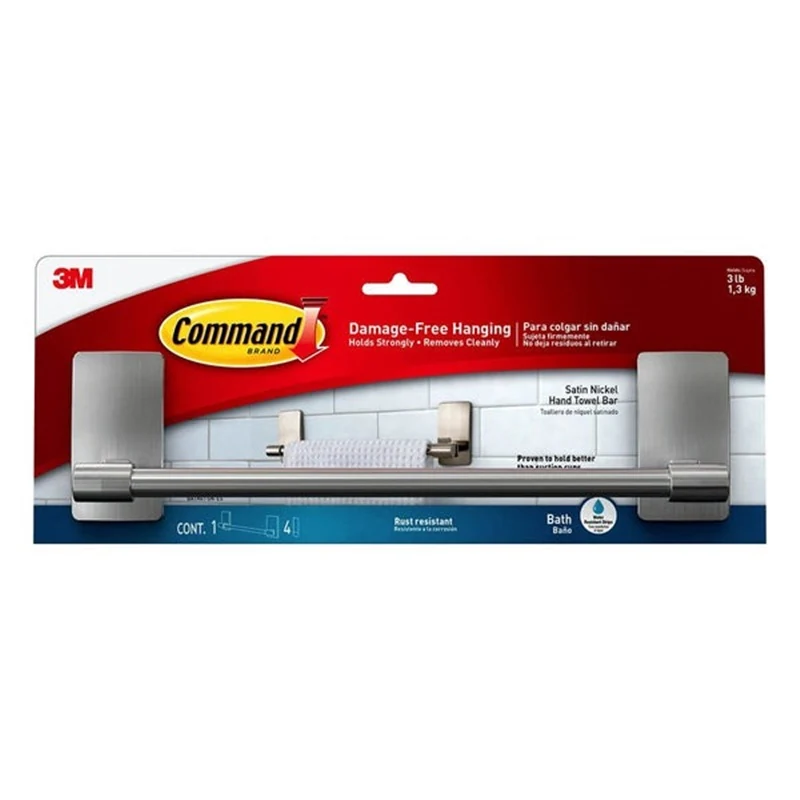
Towel bars, hooks, a toilet-paper holder, and cabinet pulls can repeat a finish and make the room look coordinated. Place hooks where towels can dry rather than overlap. Before drilling, check for pipes, wiring, and waterproofing behind the wall. Drilling tile carries cracking and water-intrusion risks, so use an experienced installer when the location is uncertain.
A faucet swap is more involved than changing a handle. Shutoffs may be seized, supply lines may be old, and countertop holes determine compatibility. If valves do not close smoothly or corrosion is visible, stop and call a plumber. Never force a valve merely to complete a decorative update. A matching faucet is optional; repeating the same general tone in several smaller pieces can visually connect an existing fixture.
Use textiles to add color and softness
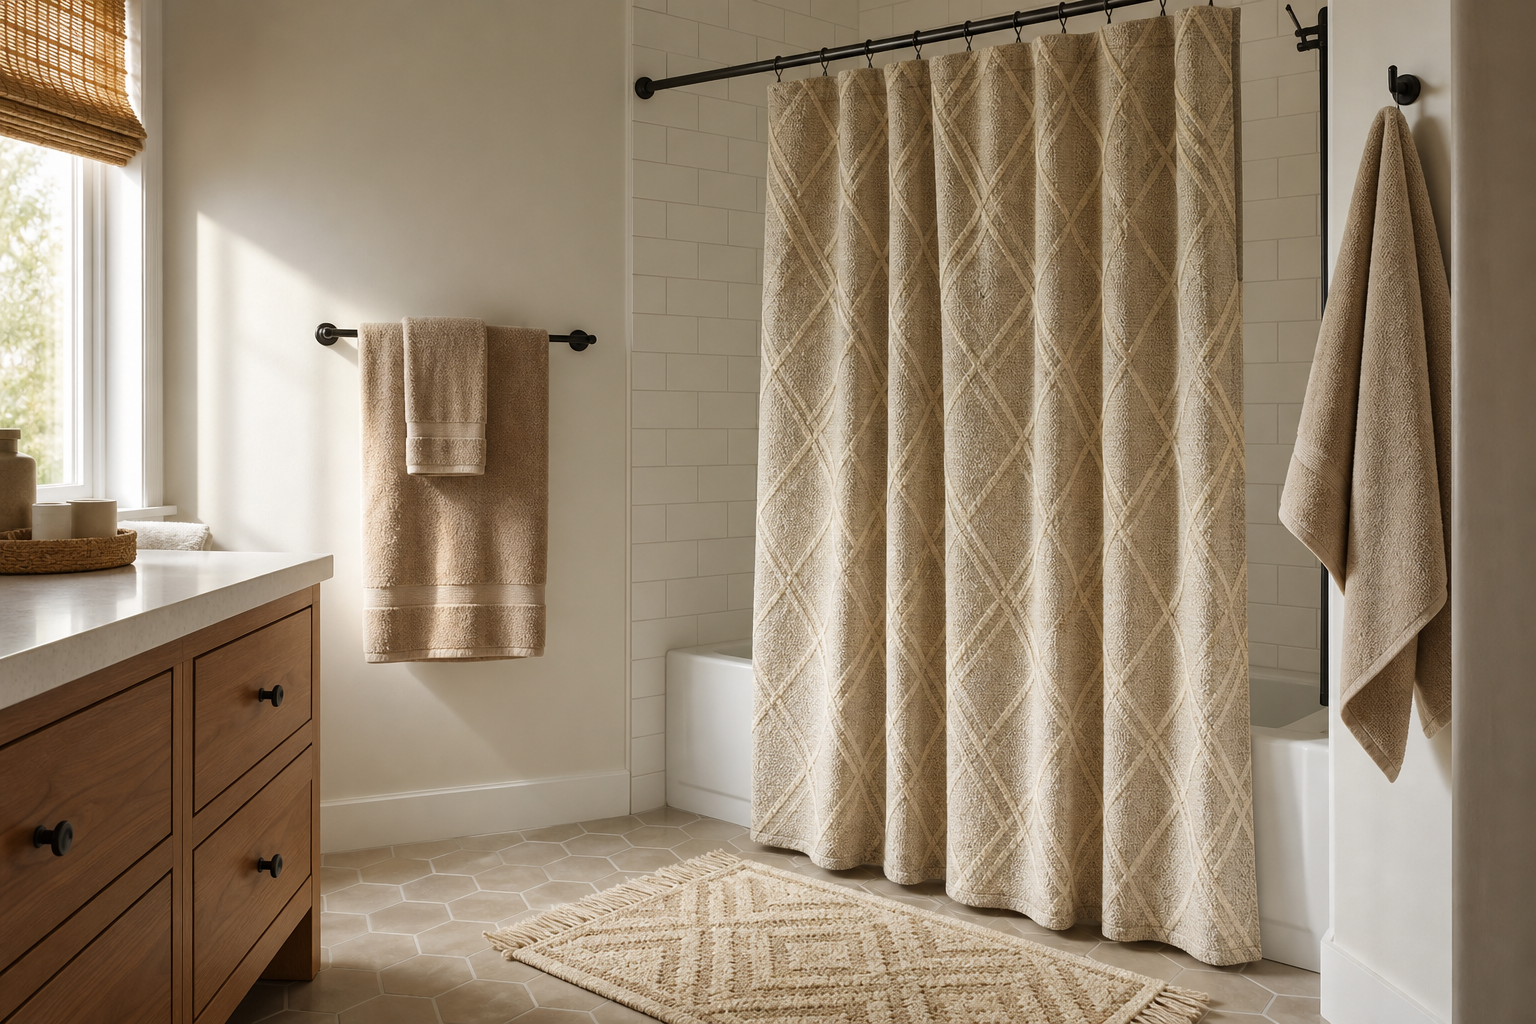
A shower curtain is a large visual plane and can establish the entire palette. Hang it at an intentional height while keeping the liner safely inside the tub or shower. A washable liner and quick-drying curtain are practical in humid rooms. Do not allow fabric to cover a heater, vent, or outlet, and replace liners that cannot be cleaned effectively.
Choose bath mats with non-slip backing suited to the floor and wash them frequently. Thick rugs that remain wet can trap moisture and create odor or slipping hazards. Towels need not form a perfectly matched set; two coordinated colors often look more relaxed. Open shelves should hold a limited number of folded items so they remain useful rather than becoming displays that collect dust.
Add storage that respects the room
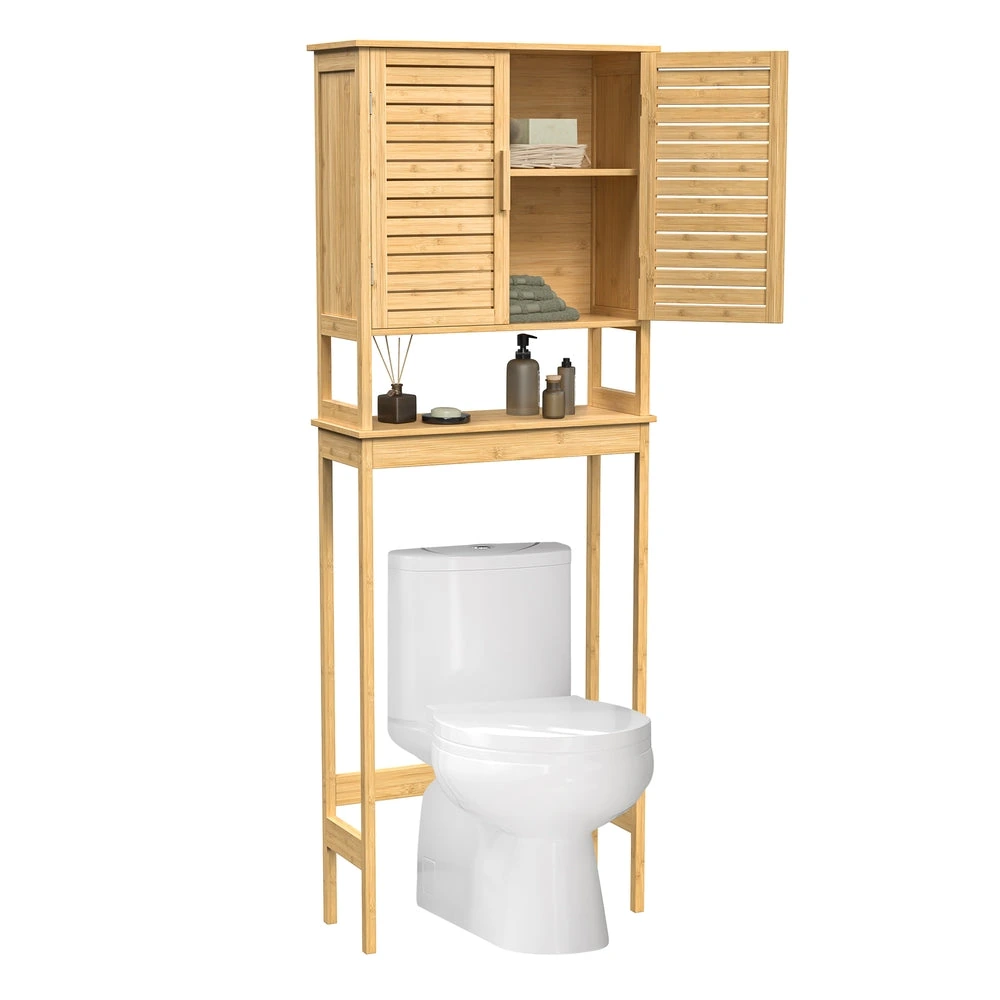
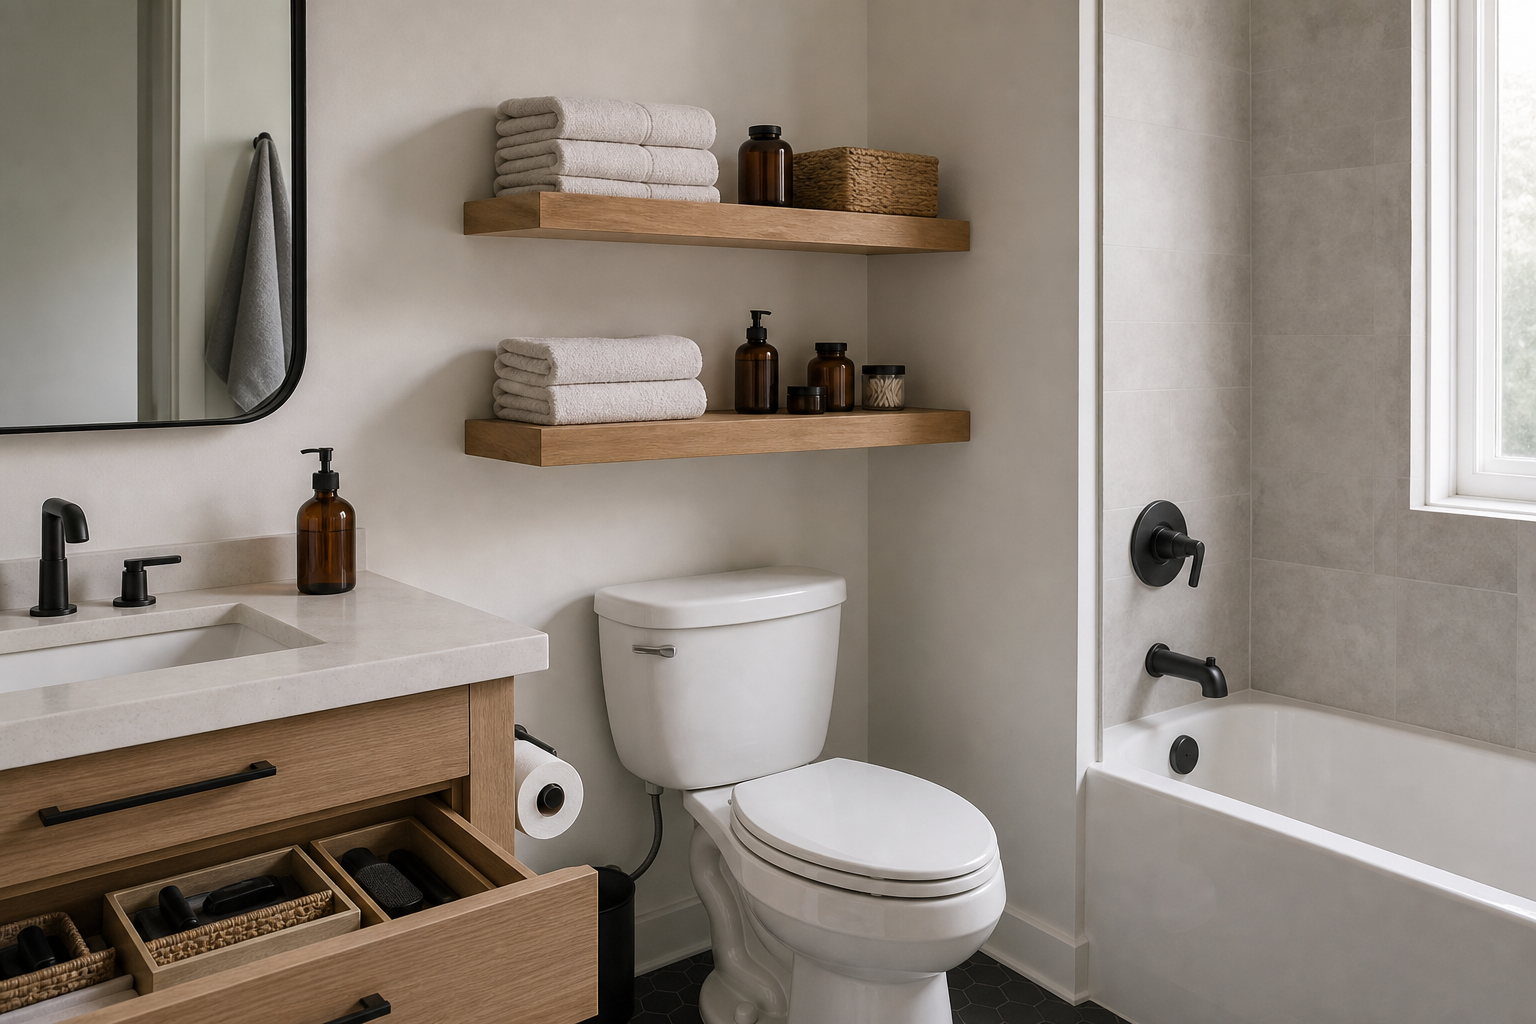
Begin by removing expired products and relocating bulk supplies. Then match storage to the remaining categories. A shallow medicine cabinet uses wall depth efficiently, while a narrow rolling cart may suit a rental. Over-toilet cabinets can add capacity but must be anchored against tipping and positioned so no one strikes a corner when standing.
Adhesive hooks and caddies reduce drilling, but humidity, surface texture, and weight affect performance. Follow load and surface instructions and do not hang glass or heavy objects above the toilet or tub using uncertain adhesive. A rust-resistant <a href="/products/taili-face-series-suction-caddy/" class="product-inline-link">shower caddy</a> may free ledges, though reviews do not replace checking the mounting method and dimensions.
Work with existing floors and tile
Deep cleaning and fresh grout or caulk can transform tile more convincingly than a temporary covering. Grout colorant may produce an even appearance on suitable, prepared grout. Recaulking wet transitions requires complete removal of failed material, a clean dry joint, and a sealant approved for the location. Persistent cracking or movement may indicate a substrate issue rather than worn caulk.
Peel-and-stick floor products are not universal. They need a flat, stable, compatible base and careful treatment around toilets and wet edges. Trapped moisture or poor adhesion can create sanitation and trip problems. Never cover soft flooring or evidence of leakage. In a rental, a washable low-profile mat or simply emphasizing walls and textiles may offer a safer reversible change.
Create a realistic weekend sequence
Do the work in dependency order. First repair active defects and allow materials to dry. Next remove accessories, clean, patch, and paint. Install the mirror and permitted hardware after coatings cure, then add storage, textiles, and countertop items. Scheduling everything at once can leave wet paint exposed to shower steam or force newly installed items to be removed for repairs.
Keep the toilet and exit route usable, store tools away from children, and ventilate according to product directions. Never mix cleaning chemicals, especially bleach and acidic products. If the only bathroom must remain operational, divide the project into zones and avoid starting work that cannot be safely paused overnight.
Budget by impact, not item count
Allocate money first to repairs, safe installation, and durable high-touch pieces. Paint, a shower curtain, cabinet hardware, and improved organization often produce more visual change than many decorative containers. Include expendables such as primer, patching compound, anchors, rollers, disposal, and professional labor. Returns can also add cost when measurements are skipped.
Reuse what already works. A sound mirror can receive a compatible frame, existing jars can be moved into a drawer, and hardware can sometimes be cleaned rather than replaced. Avoid decanting medicines or chemicals into unlabeled decorative bottles. Beauty should not compromise product identification, child safety, or instructions.
Quick makeover checklist
| Area | Low-disruption update | Check before starting |
|---|---|---|
| Walls | Bathroom-rated paint or removable accent | Moisture and paint stability |
| Vanity | Hardware, adjustment, compatible paint | Leaks and swollen material |
| Mirror | New frame or correctly anchored mirror | Weight, wiring, clearances |
| Lighting | Clean diffuser or compatible bulbs | Fixture rating and electrical condition |
| Storage | Hooks, cart, anchored cabinet | Pipes, wiring, tip risk |
| Textiles | Curtain, towels, non-slip mat | Drying and ventilation |
| Tile | Deep clean, grout color, recaulk | Movement and hidden water damage |
Take before photos from the doorway and vanity. After each major step, compare the same views. This helps distinguish genuine improvement from the temporary excitement of adding more objects.
Frequently asked questions
Can I make over a bathroom in a rental?
Yes, but work within the lease. Freestanding storage, textiles, compatible adhesive accessories, and lighting-temperature changes are often reversible. Obtain written approval for paint, holes, wired fixtures, plumbing changes, or surface films, and retain original hardware for reinstatement.
Should all bathroom metal finishes match?
No. Two finishes can look intentional when each appears more than once and their tones relate to the palette. Keep dominant fixtures consistent and use a second finish for smaller accents. Too many isolated finishes can make a compact room look fragmented.
Is peel-and-stick flooring suitable for bathrooms?
Sometimes, if the product is approved for the location and the substrate is flat, sound, clean, dry, and compatible. It should not cover water damage or loose tile. Pay special attention to wet edges and toilet transitions, and consider professional advice where waterproofing is involved.
Can I paint bathroom tile?
Specialized coating systems exist, but success depends on tile location, surface preparation, product compatibility, and curing. Shower floors and continuously wet surfaces are especially demanding. Do not use ordinary wall paint, and do not coat over loose tile, failed grout, or unresolved moisture.
When does a makeover become a renovation?
Once the project relocates plumbing, alters wiring, changes waterproof assemblies, removes tile, or replaces major built-ins, permits and skilled trades may be necessary. That is not a reason to avoid the work, but it changes the planning, budget, and safety requirements.
A successful bathroom makeover without renovation is built on restraint. Correct defects first, choose a coherent palette, improve the surfaces and objects that occupy the most visual space, and keep every change compatible with a humid room. The result can feel substantially new while preserving a functional layout and avoiding unnecessary demolition.
Share your results
Reader transformations
Have you tried this makeover? Share your experience below.